
How to Restrict Claude Code Access to Personal Folders (Windows, macOS & Linux)

Claude Code is an incredibly useful AI coding assistant, but by default it can access files inside your user directory if you grant it permission. While that’s convenient for development, many developers prefer to keep personal folders such as Documents, Downloads, Pictures, or Desktop completely off-limits.
Fortunately, Claude Code allows you to define global permissions through a configuration file. In this guide, you’ll learn how to create that file and prevent Claude Code from reading your personal directories on Windows, macOS, and Linux.
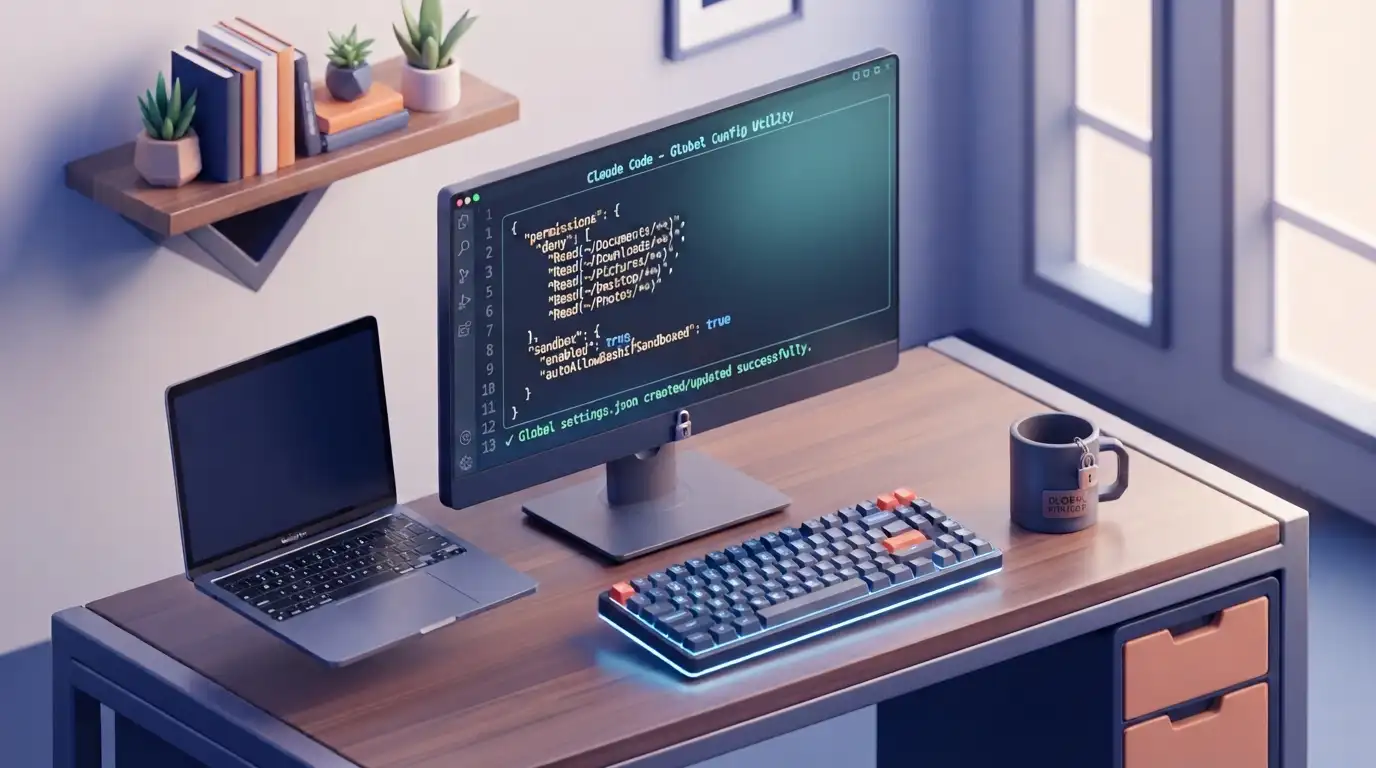
Why Restrict Claude Code’s File Access?
Most developers don’t store only source code on their computers. Personal documents, financial files, family photos, and other sensitive information often live in the same user account.
By creating a global configuration, you can:
- Prevent Claude Code from reading personal folders.
- Keep development projects separate from private files.
- Reduce the chance of accidentally exposing sensitive information.
- Apply the same rules across every Claude Code project you open.
The configuration is global, meaning you only need to set it up once.
Windows (PowerShell)
Step 1. Open PowerShell
Open PowerShell or Windows Terminal and select the PowerShell profile.
Step 2. Go to your home directory
cd ~Step 3. Create the .claude folder
If it doesn’t already exist, run:
New-Item -ItemType Directory -Path ".claude" -Force
Step 4. Create the configuration file
New-Item -ItemType File -Path ".claude\settings.json" -ForceStep 5. Open the file
Using Notepad:
notepad ".claude\settings.json"Or with Visual Studio Code:
code ".claude\settings.json"Step 6. Paste the following configuration
{
  "permissions": {
    "deny": [
      "Read(~/Documents/**)",
      "Read(~/Downloads/**)",
      "Read(~/Pictures/**)",
      "Read(~/Desktop/**)",
      "Read(~/Photos/**)"
    ]
  },
  "sandbox": {
    "enabled": true,
    "autoAllowBashIfSandboxed": true
  }
}
Step 7. Save the file
Press Ctrl + S and close the editor.
From now on, Claude Code will automatically use this global configuration for every project you open.
Windows (Git Bash or Bash-Compatible Terminal)
If you’re using Git Bash or another Bash-style terminal on Windows, run:
cd ~

mkdir -p .claude

touch .claude/settings.json

notepad .claude/settings.json
Or open it directly in Visual Studio Code:
code .claude/settings.jsonPaste the same JSON configuration shown above and save the file.
macOS
The process on macOS is almost identical.
Step 1. Open Terminal
Launch the Terminal application.
Step 2. Go to your home folder
cd ~Step 3. Create the configuration directory
mkdir -p .claudeStep 4. Create the configuration file
touch .claude/settings.jsonStep 5. Open the file
Using the default TextEdit editor:
open -e .claude/settings.jsonOr using Visual Studio Code:
code .claude/settings.jsonStep 6. Add the configuration
Paste the following:
{
  "permissions": {
    "deny": [
      "Read(~/Documents/**)",
      "Read(~/Downloads/**)",
      "Read(~/Pictures/**)",
      "Read(~/Desktop/**)",
      "Read(~/Photos/**)"
    ]
  },
  "sandbox": {
    "enabled": true,
    "autoAllowBashIfSandboxed": true
  }
}
Save the file, and the configuration will automatically apply to every Claude Code session.
Linux
Linux follows exactly the same steps as macOS.
Step 1. Open your terminal
Step 2. Navigate to your home directory
cd ~Step 3. Create the Claude configuration folder
mkdir -p .claudeStep 4. Create the configuration file
touch .claude/settings.jsonStep 5. Open the file
With Nano:
nano .claude/settings.jsonOr with Visual Studio Code:
code .claude/settings.jsonStep 6. Paste the configuration
{
  "permissions": {
    "deny": [
      "Read(~/Documents/**)",
      "Read(~/Downloads/**)",
      "Read(~/Pictures/**)",
      "Read(~/Desktop/**)",
      "Read(~/Photos/**)"
    ]
  },
  "sandbox": {
    "enabled": true,
    "autoAllowBashIfSandboxed": true
  }
}
Save the file and exit the editor.
Claude Code will now use these restrictions automatically whenever it starts.
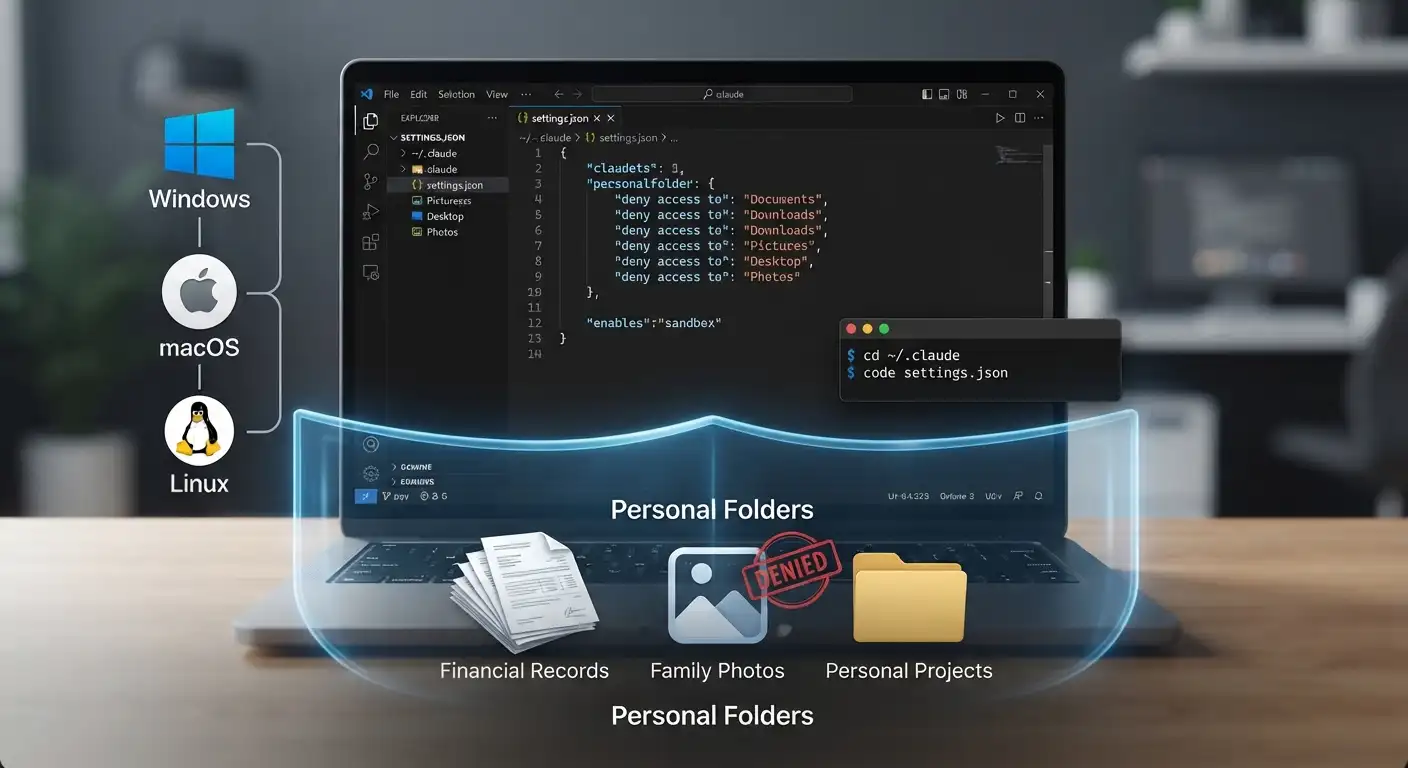
What Does This Configuration Do?
The configuration has two main sections.
The permissions block prevents Claude Code from reading specific directories inside your home folder, helping protect files that aren’t related to your development projects.
The sandbox section enables Claude Code’s sandbox mode, providing an additional layer of isolation while allowing Bash commands to run automatically when they’re executed inside the sandbox.
Together, these settings create a safer default environment without affecting your normal coding workflow.
Final Thoughts
Claude Code is designed to make development faster, but it’s still a good idea to follow the principle of least privilege. Giving any tool access only to the files it truly needs helps reduce unnecessary exposure and keeps personal information separate from your work.
Since this configuration is global, you only need to set it up once. Every future Claude Code project will automatically inherit these permissions, giving you a more secure starting point without any additional configuration.